I was having an issue in my home with where I could store my purse, my daughters backpack and other random but necessary items. I finally came up with a solution and I'm so excited. You see I have this wall that is in the kitchen. When you walk in from the garage it is on the left. I have had this black framed cork board with small hooks up there for years. It was not cutting it. I wanted something bigger, more substantial and something I could store my purse on. Those tiny hooks would never hold my monster purse.

My husband was hunting and I like to do projects while he is away. He tends to criticize, question and sort of makes me crazy when I just want to do the project my way and get it done. I went to Home Depot and went straight to the discounted wood. Love this section, everything is 70% off. I find most of my project wood in this pile. I came home with a bunch of random pieces that I knew I could cut down and make into a great wall feature. I spent a grand total of $8.66. Here is the configuration that I came up with.

.jpg)
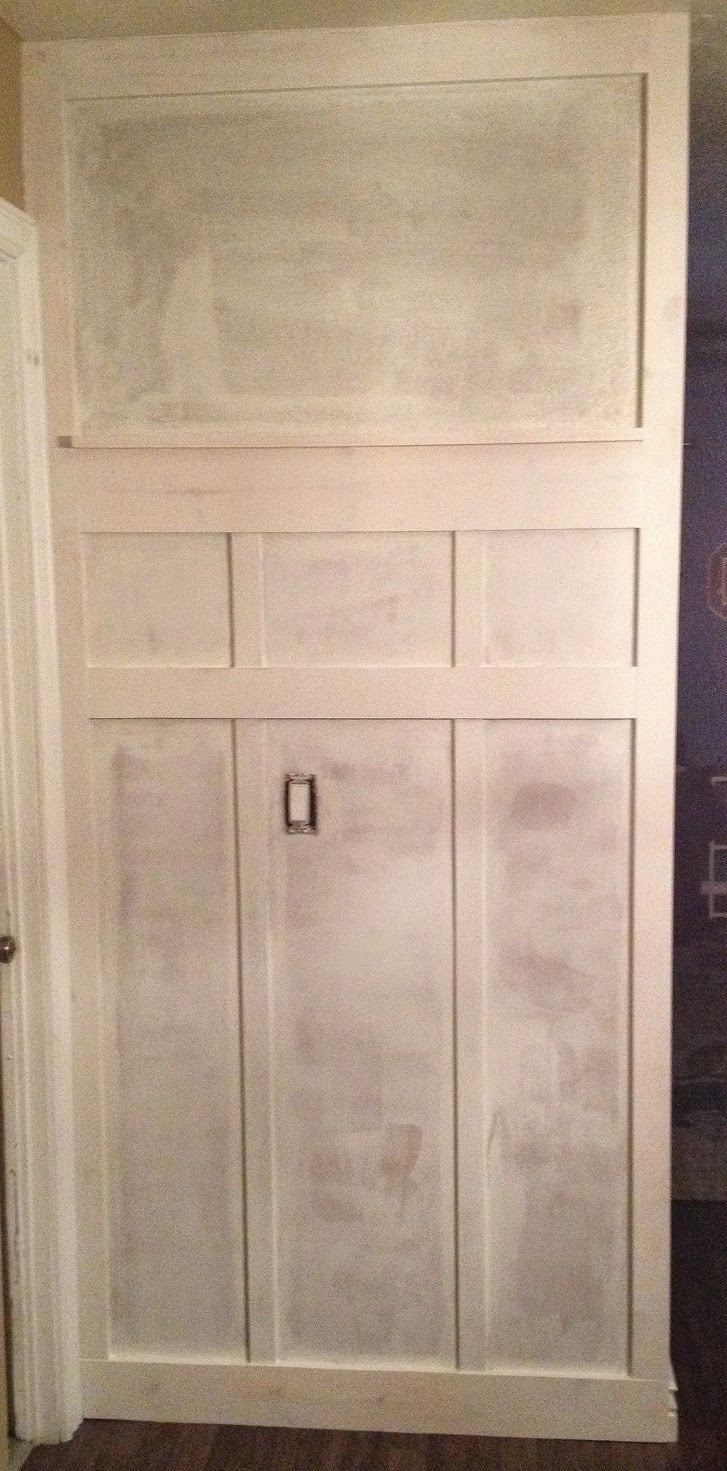
Notice, I even took off the baseboard of that section of the wall. I didn't think it would look good with the vertical pieces running into the thinner decorative trim so I went ahead and put a solid thicker piece there. I did have to finagle the trim on the tiny wall to the right so that it would angle back into the new wood piece. You can see better in the pic below when it was all painted. 
I primed the whole wall twice and then painted two coats of Behr Full Moon in Satin. Here is a pic after the two primer coats. I did have to extend the light switch since I placed the wood around it. If you are wondering how to do this, I can do a post on extending switches/outlets/etc. Just let me know if you want me to...it's really easy and super cheap. It's a great thing to know about if you are doing paneling in your home on a wall and don't want to cut your paneling around the outlet or switch. Your faceplate will mount right on the paneling just like it was on a normal wall.
After it was all painted I was trying to figure out what I was going to do as far as hooks and baskets. Also, I left a huge rectangle area up top for pictures and invitations. This was my first attempt. I loved the knob placement that holds the back pack, apron and purse. I liked the rope picture holder, but wasn't in LOVE.

I had used black Jute Rope and it almost looked like yarn. Totally cheesy and not me. Here's a close up of what I'm talking about. From far away it's ok, but up close - yuck!

Before I show you my second (yes, second but not final) attempt I want to show you the baskets that I used. Or basket!! First off, there is nothing out there that is cute, functional and fits in my three "boxes" above my hooks. I had to get creative and boy did I. I found this basket at Hobby Lobby for $8 after the 50% off sale they were having. It didn't fit long ways, but I measured the depth and it fit perfect in the two outside boxes. I'll show you what I mean.

I took my husbands metal grinder and grinded the middle section out of the basket, leaving two half baskets with two little arms sticking out of each side. I then bent those at 90* and drilled a single hole big enough for a screw.

Then I screwed it into the wall making it centered in the box. It sucked the whole basket flush with the wall and is pretty strong. I wasn't too worried since I only planned to put mail in them and other papers or magazines.

They turned out exactly how I wanted them to and I love the industrial vibe that they bring to the wall. Hint: Notice the brown rope above?

Yes, I replaced the Black Jute Rope with some thicker brown rope. I liked it better because it didn't look like yarn, but I still wasn't in LOVE! I also put the black key hooks in the middle square for our extra keys.

Third times a charm though. I decided to do a magnet board. I cut the metal to fit the rectangular space and then trimmed it out with a smaller piece of wood. I think it measured 1/4"x1". Now I'm in LOVE! It's perfect for invites, pictures and school work.

I think total with wood, hooks, sheet metal and everything it came in under $50. That's including the price of the unfortunate rope mishaps. I still can use the rope for other projects so it's not a total loss.

No comments:
Post a Comment