I've gotten a few questions from people on how I make my girls printed tees. They are super simple and cheap. Plus, my girls can decide what they want printed on their shirts.
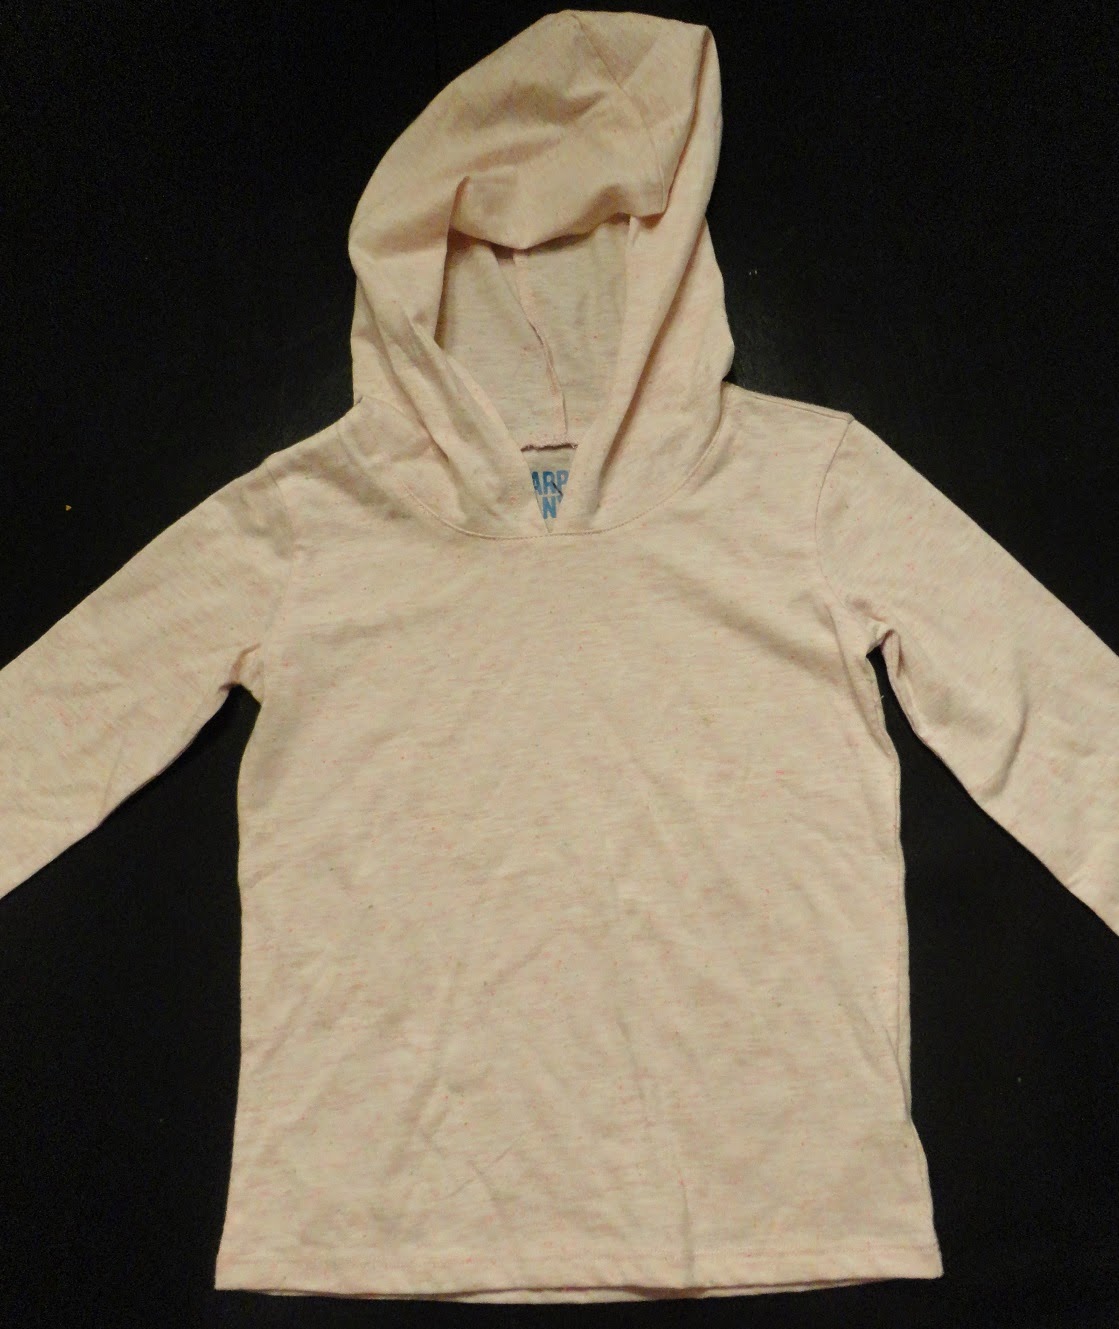
I start off with a plain t-shirt from Target, Walmart, Last Chance, etc. Wherever I can find them cheap and I like the fit. I got this pale pink, long sleeved, hooded tee at Last Chance for $2.97. If I mess up on it, I'm not really out too much, right?
(***Make sure that you put a piece of cardboard inside the shirt before starting. It helps keep the shirt stiff and won't let the image bleed to the back of your shirt.***)
I printed this geometric deer on my vinyl machine and peeled the inside lines out, leaving the big portion of vinyl as a stencil. I did use the transfer tape to put the vinyl onto the shirt. It is a little tricky getting it to stick to the shirt, just work with it slowly and it should stay. Press down on the vinyl afterwards to make sure that none of the corners come up when you paint it.

I then used fabric paint to paint all over the vinyl and fill in the image as best as possible. I just buy the Tulip Soft fabric paint that they have at Michael's. It's in the section with the craft t-shirts and the Puff paint we all used as a kid. Don't get the Puff paint.

After painting, I waited about 5 minutes and started peeling. I peeled the outside first and then I work in on all the smaller pieces. I used really pointy tweezers for this part. Make sure you wipe them every time you peel a piece off so you don't have excess paint on them when you start to peel your next piece.

There you have it...your very own custom printed tee.

I recommend not drying the shirt the first time you wash it. I have had a shirt dried after the first wash and nothing happened, but I'm weird and still hang it the first time. You can also run an iron over the image to really set in the paint, I would put a thin towel or fabric over the image if you are going to do this though. You don't want the iron to stick to the paint if it is too hot.
No comments:
Post a Comment